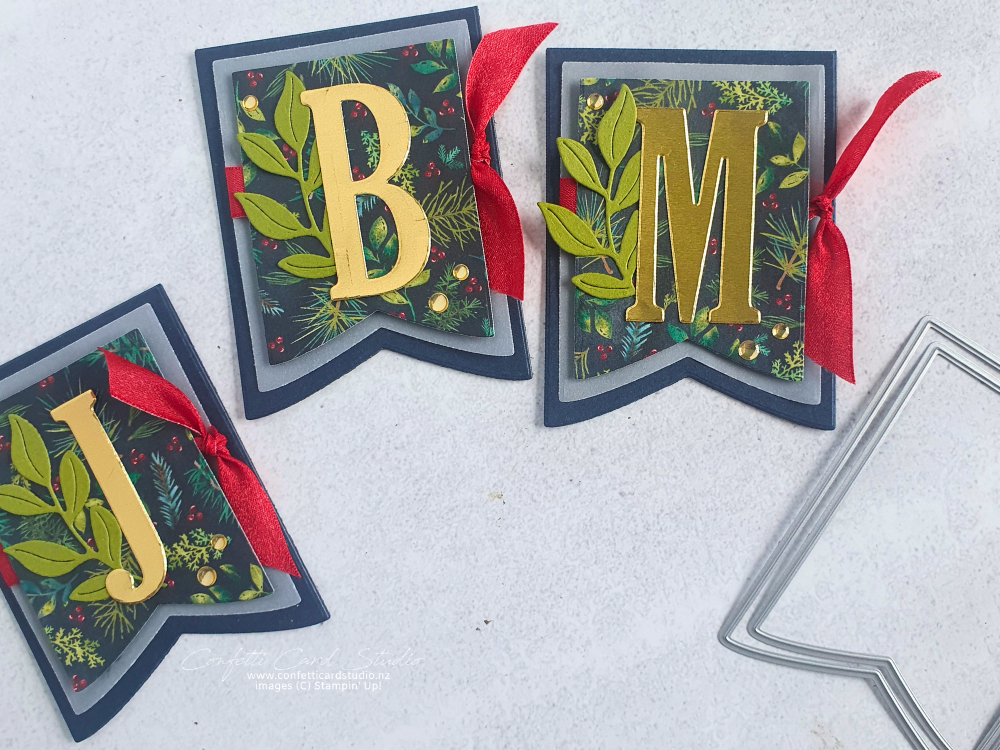
My initial idea was to create personalised Christmas table tags as place name cards for the Christmas table. However, once I made them, I realised they would also be perfect for gift giving. As a result, they quickly became a versatile project for the festive season.
These cute little cards are just one idea. In fact, there are so many projects you can make with the Party Banner Dies.
Top 5 Projects Using the Party Banner Dies
Here are my top five ways to use these dies:
Shaped cards and tags
Layers on regular cards and tags
Albums
Frames – shaker cards anyone?
Banners
In addition, other dies with the same possibilities include the Everyday Arches and Nested Essentials. The trick is simple. Place the folded edge of your cardstock just below the cutting edge of the die before you die cut. This allows you to create a folded card shape with ease.
Mastering the Layers for Personalised Christmas Table Tags
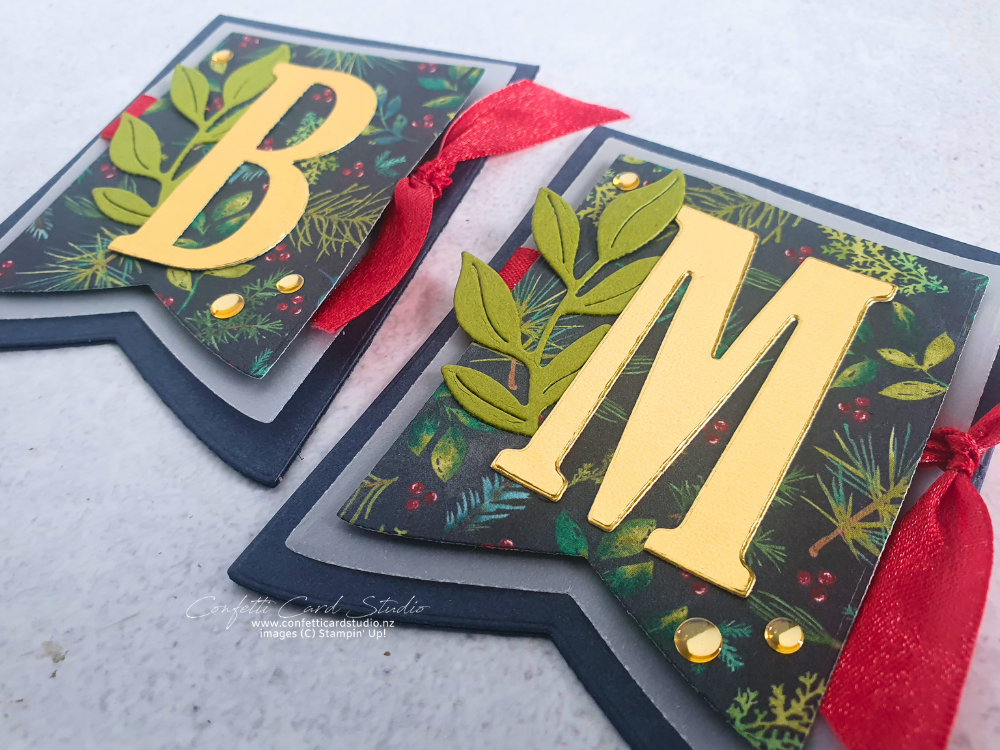
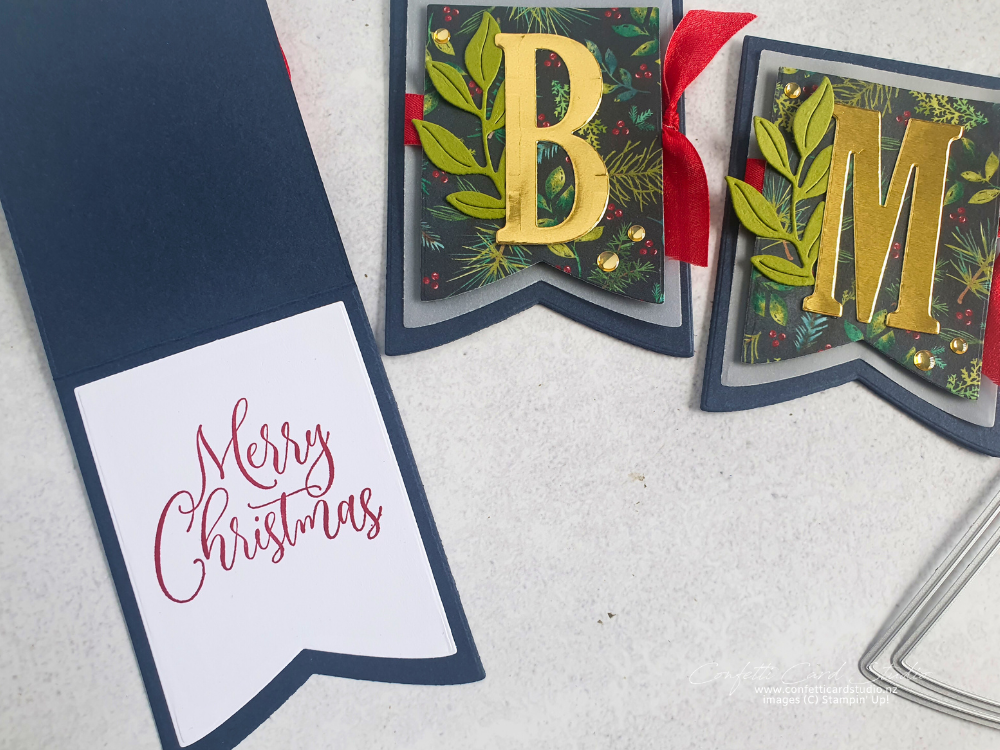
For these tags, I used three layers of banners. I also incorporated ribbon between the layers for added texture.
To begin, I grabbed different colours of cardstock. Then, I layered them together to test how they looked. Once I was happy with the colour combination, I die cut the pieces and made a few final adjustments.
On a small project like this, too many layers can compete with each other. Therefore, the vellum became the perfect ‘ghost’ layer. It adds softness without overwhelming the design.
The Elegant Pine Snowflakes Designer Series Paper and the gold initial letter are the focal point. Meanwhile, the ribbon and card shape act as the frame.
Message Inside the Tags
In my video, I forgot to mention the inside of the personalised Christmas table tags—oops! Inside, I stamped Merry Christmas from the Ornamental Christmas Stamp Set in Real Red.
This stamp has a gorgeous font. It finishes the tag beautifully and adds a classic Christmas touch.
I hope that my guests will take their personalised Christmas table tags home as a special keepsake of the day.
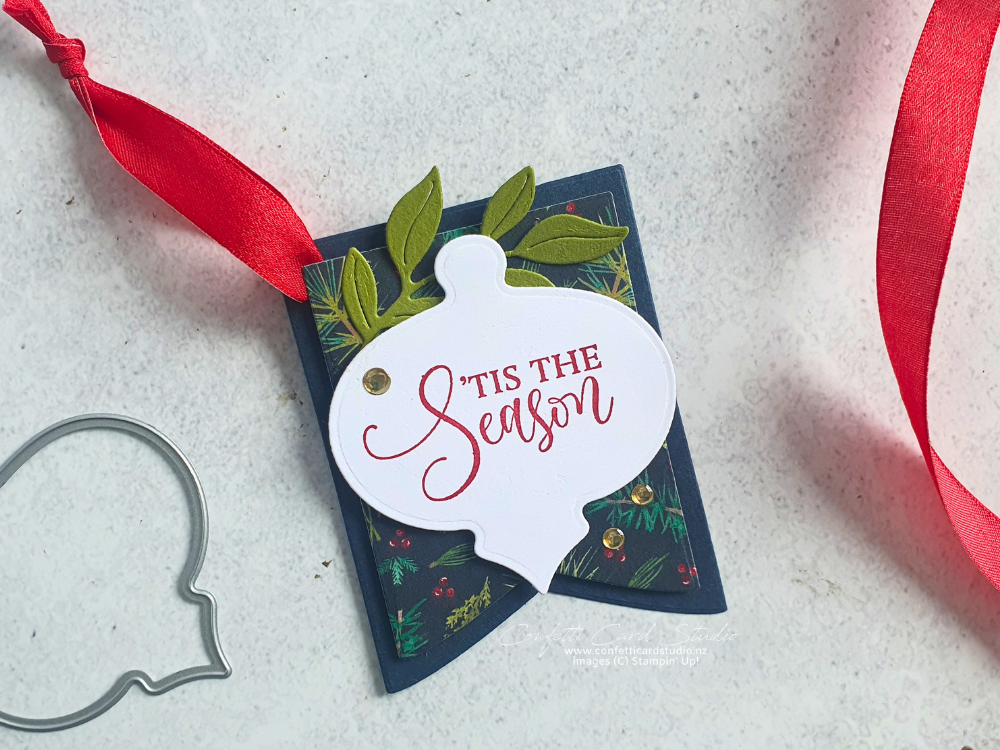
After the video, I completed the gift tag by re-doing the ’Tis the Season stamp inside the ornament shape from the Ornamental Christmas Dies. It is super sweet and adds a lovely festive detail. On the back, I added another Basic White tag, which creates the perfect space to write a personal message.
Watch the Personalised Christmas Table Tags Tutorial Video
You can watch my step-by-step video below to see exactly how to create these tags. Let me know if you try this project too!
Make Your Own Christmas Table Tags
Would you like the full written tutorial, complete with measurements for all the layers? This tutorial was already sent to my email subscribers, but I don’t want you to miss out! If you subscribe to my mailing list by 15 December, I’ll send this tutorial as a special welcome gift.
Click here for a complete supply list for printing, shopping, or saving. When you’re ready to order, I’d love to help you and be your Stampin’ Up! Demonstrator.
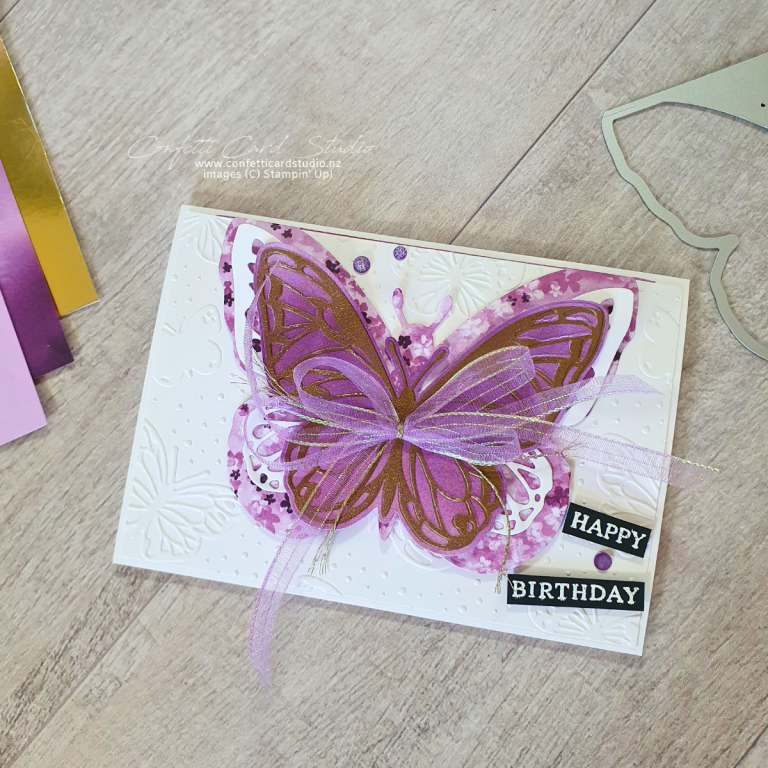
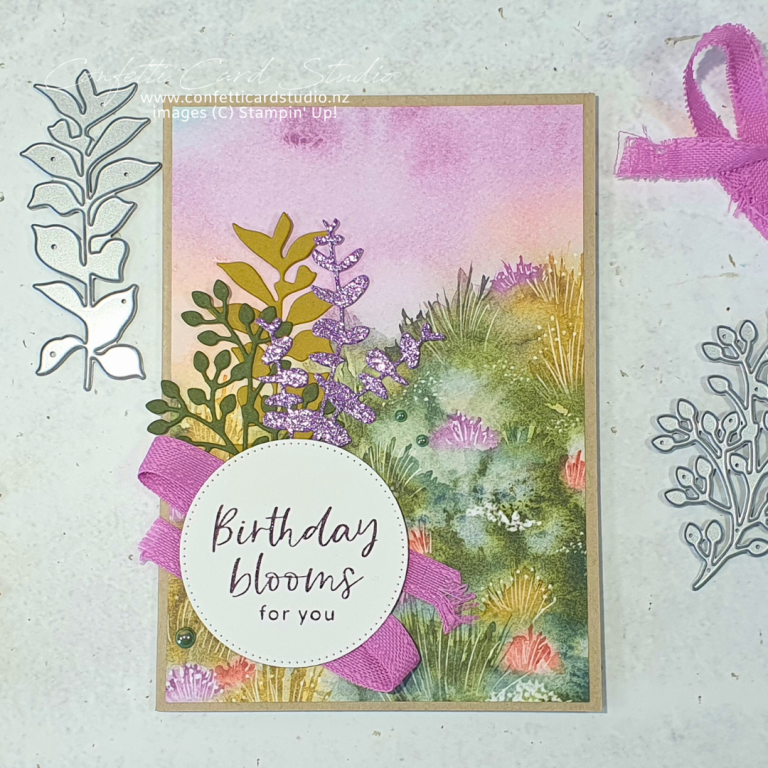
Here’s another couple of cards you could use the Party Banner Dies for