My DSP scraps were piling up, so I decided it was the perfect time to try the scrappy strip technique—a fun and easy way to use those awkward little leftovers of pretty paper.
PAINTERLY PEARS SCRAPPY STRIP TECHNIQUE
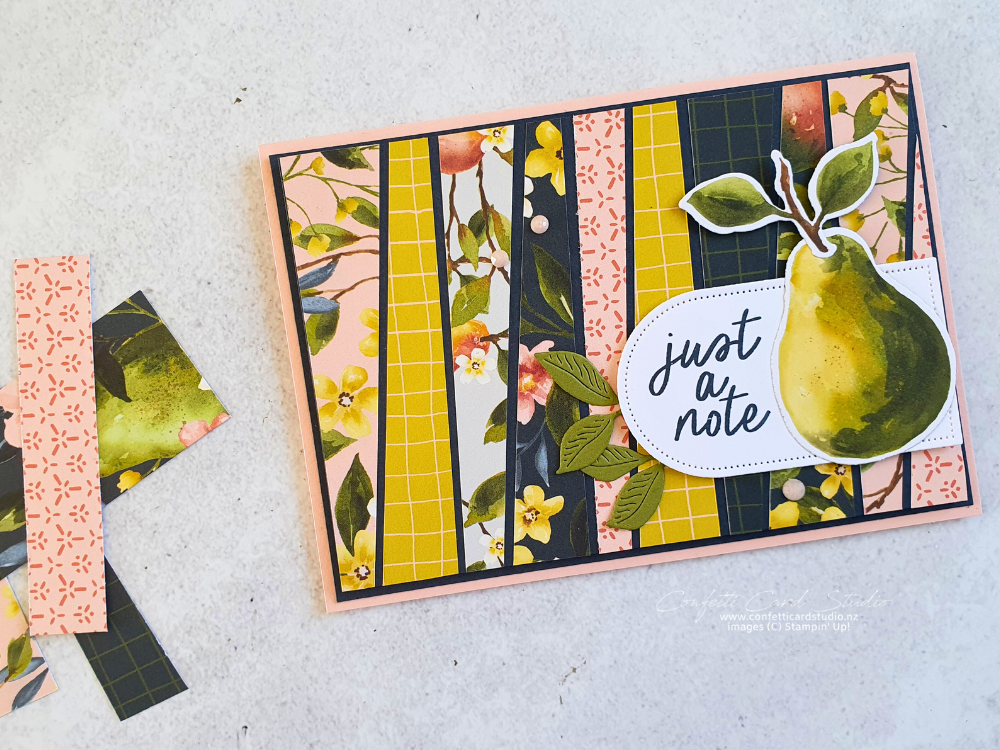
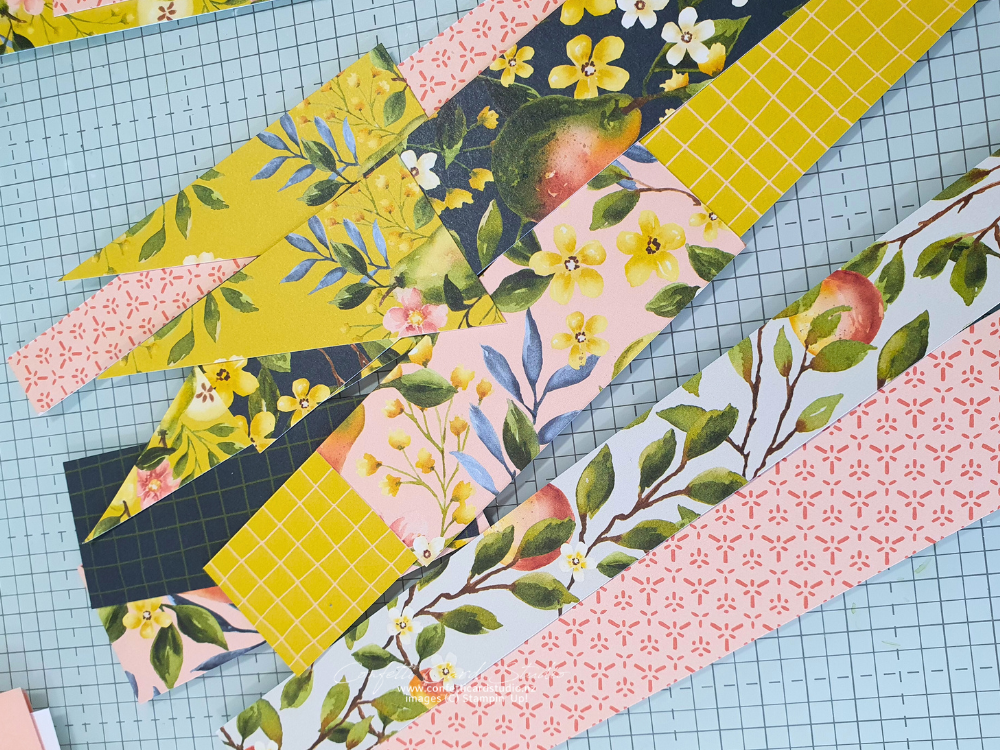
I started by trimming my scraps so they’re angled on one side and slightly wider at one end. Each piece needs to be just a bit longer than the cardstock layer you’re adhering them to. Then comes the fun part—playing with placement! Mix and match, top and tail, and just keep going until you’ve got enough pieces to stretch across your whole layer.
SCRAPPY STRIP TECHNIQUE CARD
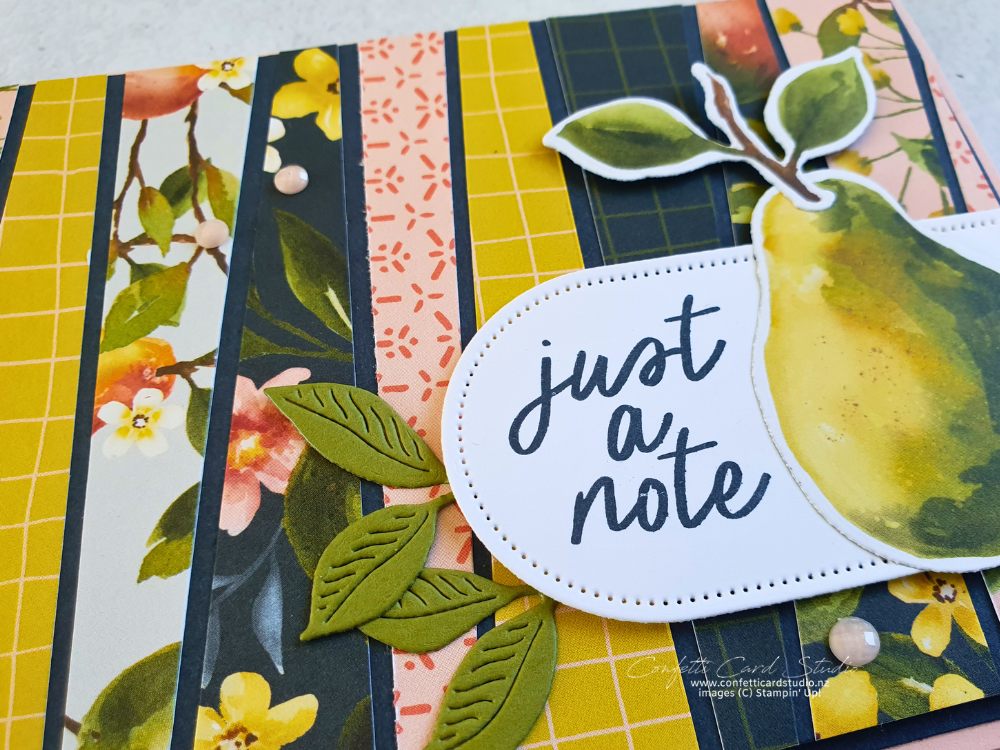
For my card, I chose Secret Sea as the base layer. It’s one of the coordinating colours in the Painterly Pears paper, and oh my goodness—it’s the most gorgeous deep blue! Paired with Petal Pink, it just makes the patterns pop in such a fresh way.
DESIGN DETAILS
Since the paper is already bold and busy, I kept the decoration simple. I used the Everyday Arches dies for the sentiment shape, then die cut a pear right from the DSP itself. A couple of Old Olive leaves and a sprinkle of Charming Shimmer Faceted Dots finished it off beautifully.

On the inside, I couldn’t resist stamping a little cluster of pears. I used two-step stamping in Petal Pink and Lemon Lolly, then added shading with Blends in Old Olive and Pecan Pie. It was the perfect finishing touch!
Be sure to like and subscribe for all my future videos

FREE TUTORIAL
Each week after my Facebook Live the free tutorial is emailed to interested subscribers on my email list. If that’s you please subscribe and receive these free ideas directly to your inbox each week.
Click here for a complete supply list for printing, shopping, or saving. When you’re ready to order, I’d love to help you and be your Stampin’ Up! Demonstrator.
For other projects using the Painterly Pears Suite products and the scrappy strip technique check out these links