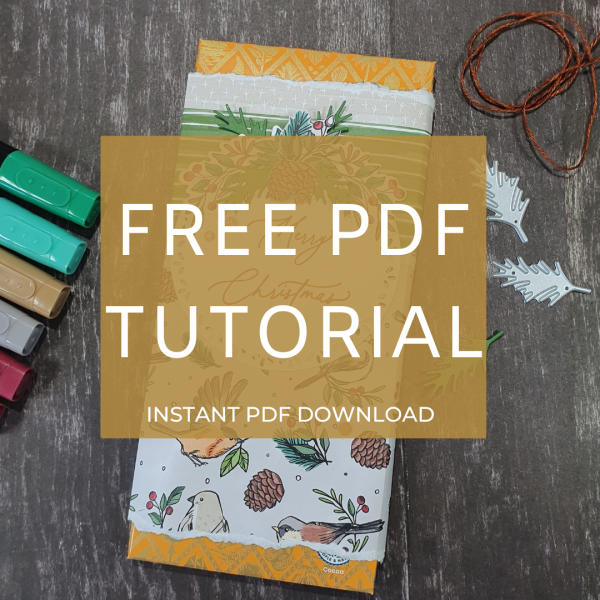
Today, I’m excited to share how to wrap a chocolate bar using the stunning Nests of Winter Designer Series Paper. This elegant wrapping transforms a simple treat into a beautiful gift.

Choosing the Right Design and Colours
First, I wanted to use the design with the medium size birds, with this in mind I selected the colour wrapping of the chocolate bar at the grocery store to coordinate. I then selected 2 other designs from the Nests of Winter Designer Series Paper pack to coordinate.
Measuring and Cutting the Paper
To wrap a chocolate bar, you need to start by measuring the width of your chocolate bar. For example, my bar is 9cm wide on the front and back, and approximately 1cm on each side. Add these together: 9 + 9 + 1 + 1 = 20cm. Then, add 1cm for overlap, totaling 21cm (8¼ inches). Use this formula for any chocolate bar size.
Next, measure the length of the bar. My bar is 19cm (7½”) long. I cut the paper into lengths of 14cm, 6cm, and 3.5cm, totaling 23.5cm (9¼ inches). This ensures there’s enough paper for overlap with adhesive. You can adjust the width based on how much paper you want visible.
Wrap the Chocolate Bar
Once you have the width and length, cut the DSP paper accordingly. If your paper is directional ensure you cut the paper in the correct direction. Take your time to avoid wasting any of this stunning paper.
Lay the paper pieces on the chocolate bar to check the height before adhering each layer. Then, stick all the layers together. Wrap the entire piece around the chocolate bar and join it at the back.

Decorating Your Wrapped Chocolate Bar
To add a personal touch, decorate your wrapped chocolate bar with stamped and die cut embellishments. I used the leaves and berries stamp from the Winterly Tree Tops stamp set coloured with blends. I also added sprigs cut from Garden Green cardstock along with pinecones, and fussy-cut leaves from the DSP. A basic white circle was created using the Spotlight on Nature die set. These decorations make the gift look elegant and thoughtful.
For the sentiment, I stamped a greeting from the Greetings of the Season Bundle in Copper Clay ink.
Wrapping a chocolate bar with Nests of Winter Designer Series Paper is simple and delightful. It’s an easy way to personalize and elevate a sweet treat into a charming gift.
Thanks so much for stopping by Confetti Card Studio today! Join me for a class in person! ~ Vanessa