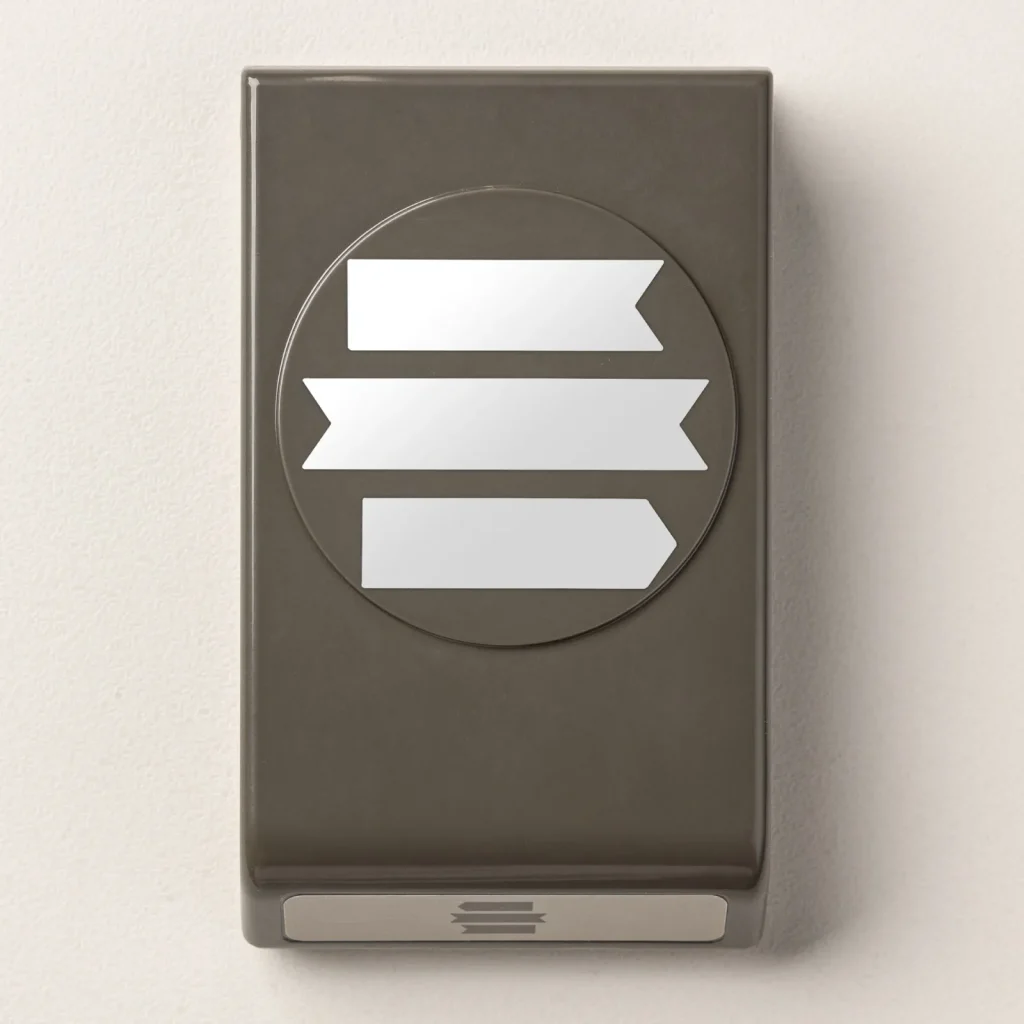
Happy New Year! To start the year off creatively, I’m showcasing the Three Banner Punch, part of the fabulous Banner Sayings Bundle from Stampin’ Up!
If you love quick, versatile tools that give your projects a professional finish, the Three Banner Punch is one you’ll want within arm’s reach.
Why I Love the Three Banner Punch
The Banner Sayings Bundle includes a stamp set packed with sentiments for nearly every occasion—congratulations, thank you, thinking of you, and more—plus a coordinating punch that cuts them out quickly and easily.
The Three Banner Punch allows you to create banner accents in three unique designs, making it perfect for cards, scrapbooking, and other paper crafting projects. Punches are such a time-saver and a great way to add visual interest without complicated cutting or measuring.
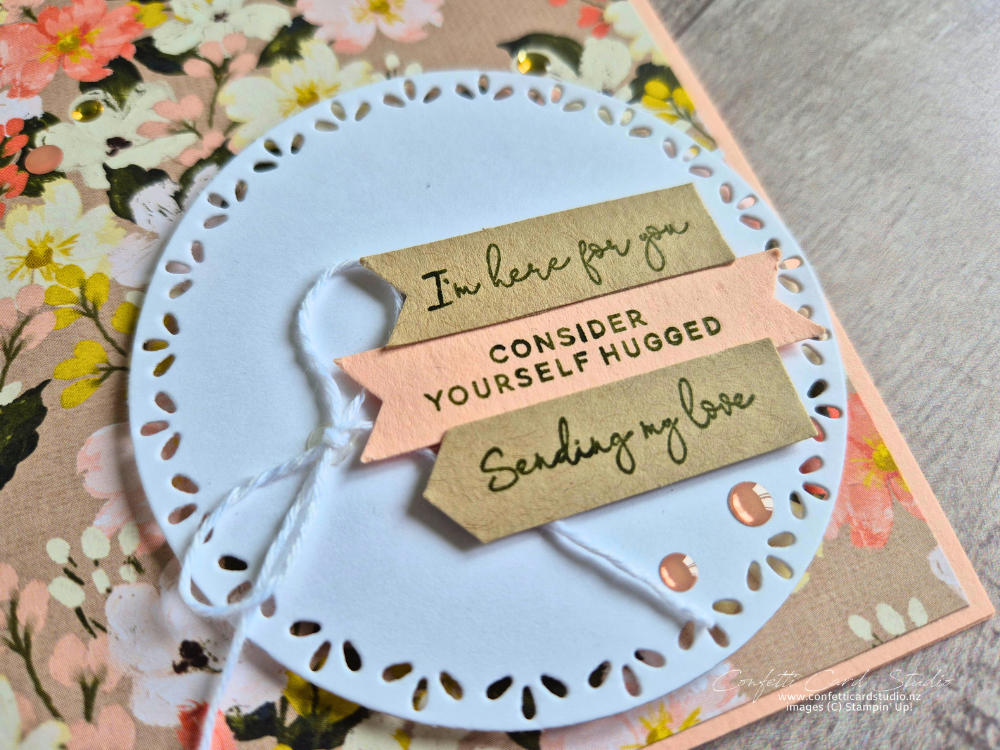
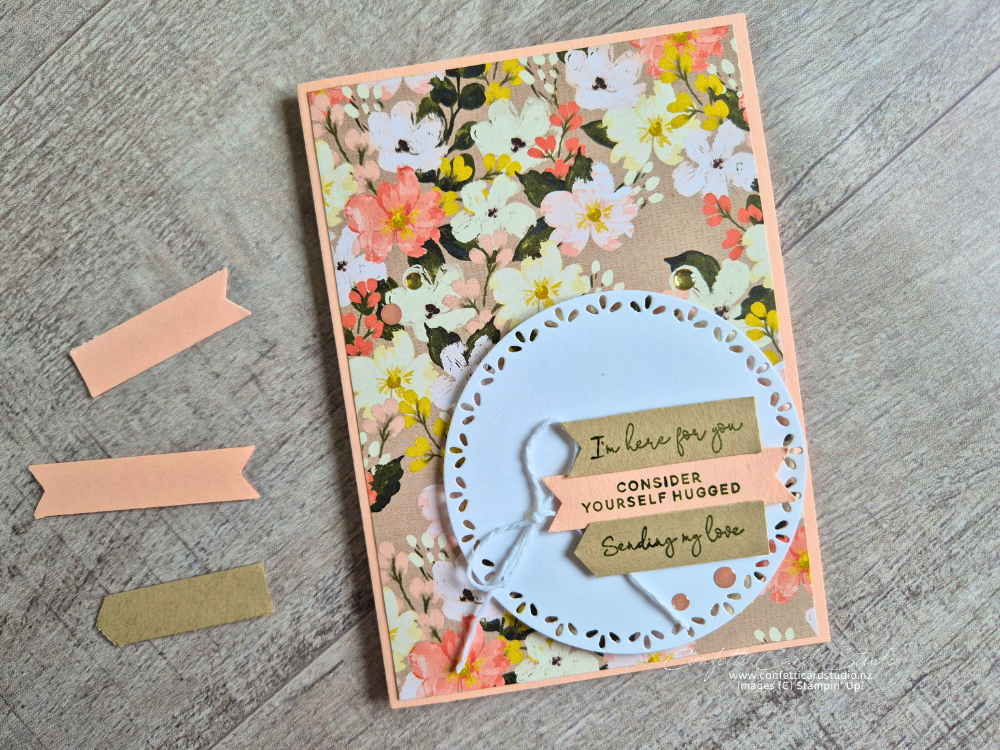
Card Design Inspiration
My card design was cased from Stampin’ Up!—which is always a great place to start when you’re short on time or mojo. I took the sample idea from the Banner Sayings Bundle and made it my own by changing the colours and layers.
For this card, I used:
Brushed With Beauty Designer Series Paper (DSP)
A circle from the Spotlight on Nature Dies
Sentiments punched using the Three Banner Punch
The mix of texture, soft patterns, and clean banner shapes works beautifully together.
A Little Punch Mishap (and How to Fix It!)
If you watched my live video, you’ll have seen a little “oops” moment where my cardstock got caught in the punch 😅
This happened because the cardstock strip was wider than the banner shape I was punching, but still narrow enough to slip into the adjacent opening and get caught.
Easy fix:
After trying to release it by dropping it on the floor a few times. I pressed the end of a pair of blunt-nose scissors firmly into the recess of the centre shape, which released the punch. No damage done—phew!
Three Banner Punch Tips
Here are my favourite tips to help you get the most out of your Three Banner Punch:
1. Make a Stamping Template
Punch the banner shapes from cardstock to create a template.
Place the template over the cardstock you’ll be stamping on
Position your sentiment stamps inside the punched shapes
Use a clear block to pick up the stamps, ensuring they’re straight
Ink, remove the template, and stamp
Now you can punch all your sentiments at the same time—perfect for making multiple greetings in different colours.
2. Use the Leftover Pieces as a Background
Don’t throw away your punched shapes!
Punch a few more in the same or coordinating colours and arrange them with even spacing to create a repeating background. It’s a simple way to add texture and interest.
3. Resize Your Banners
You can easily adjust the banner size:
To make them smaller:
Punch the shape, then feed one end back into the punch from the back, slipping it between the metal layers. Punch again to shorten the banner while keeping the same shaped ends.To make them longer:
Cut your cardstock strip to ½” wide, stamp your sentiment, then feed one end at a time into the punch to create banners at whatever length you need.
Watch the Three Banner Punch Tips for Quick Cards Tutorial Video
You can watch my step-by-step video below to see exactly how to create this card. See me explain the three tips above from 16:35 minutes.
Final Thoughts
The Three Banner Punch is such a versatile tool and a brilliant addition to any craft room. Whether you’re mass-producing cards or adding a small detail to a special project, it makes banner sentiments fast, consistent, and stylish.
If you haven’t tried it yet, I hope this gives you a few ideas—and the confidence—to give it a go.
Click here for a complete supply list for printing, shopping, or saving. When you’re ready to order, I’d love to help you and be your Stampin’ Up! Demonstrator.
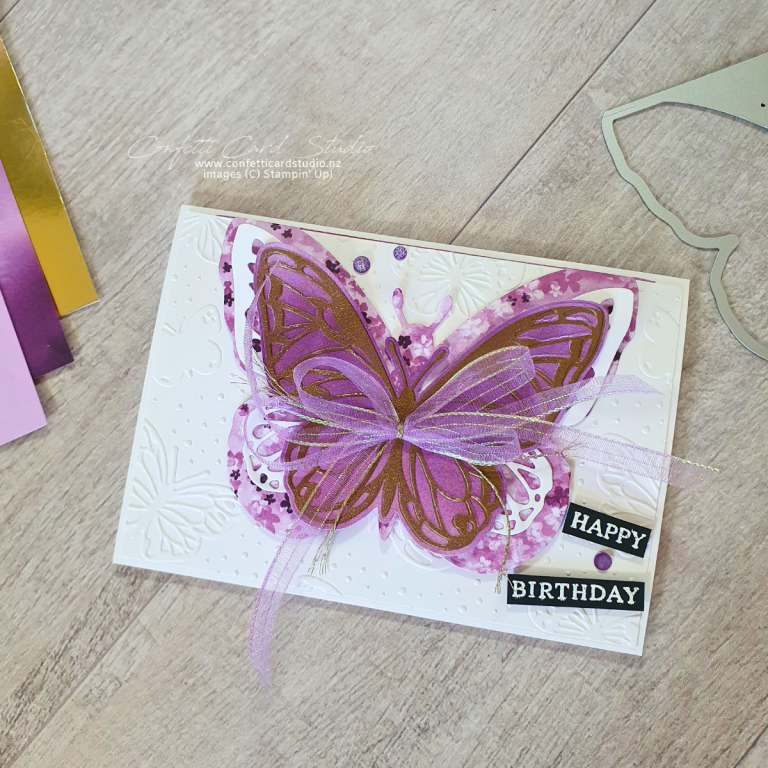
Here’s another card that’s easy to case and you could use the Banner Sayings Bundle.
BEST BIRTHDAY FRIENDLY HELLO – Confetti Card Studio
Happy crafting, and here’s to a creative year ahead!