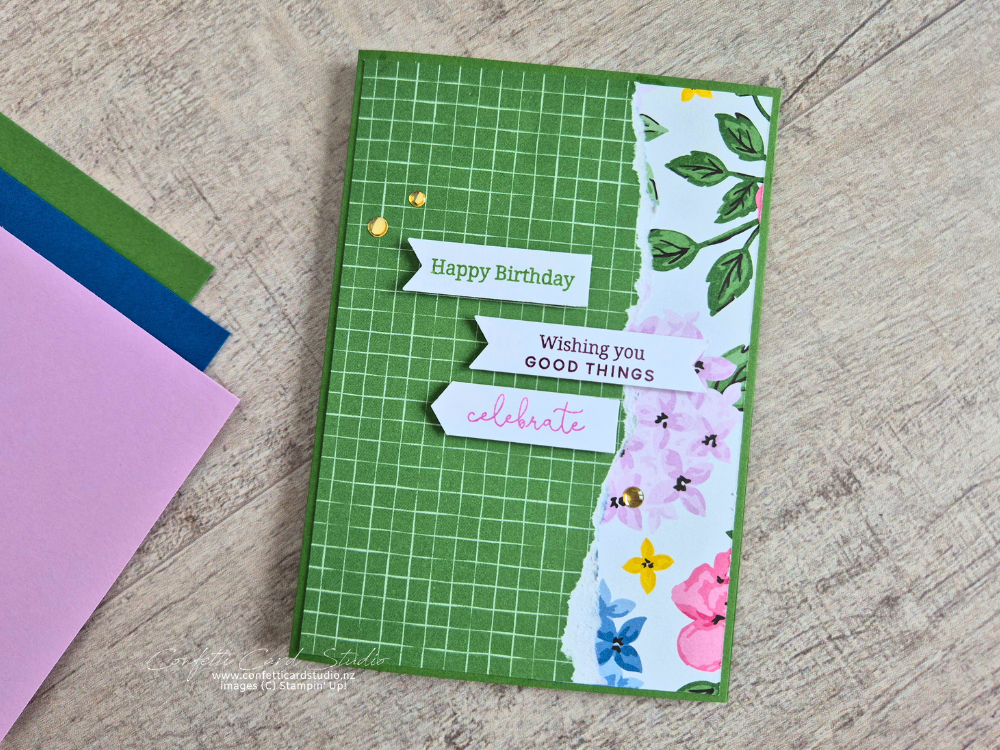
If you love techniques that save time and give professional results, this one is for you. Today I’m sharing my favourite way to use a Triple Banner Punch Template to stamp multiple sentiments perfectly aligned—every single time. Along with the Rip and Flip technique for creating interest and texture in 2 easy steps.
This tip is especially handy when you want to create several greetings in different colours or batch-make cards quickly.
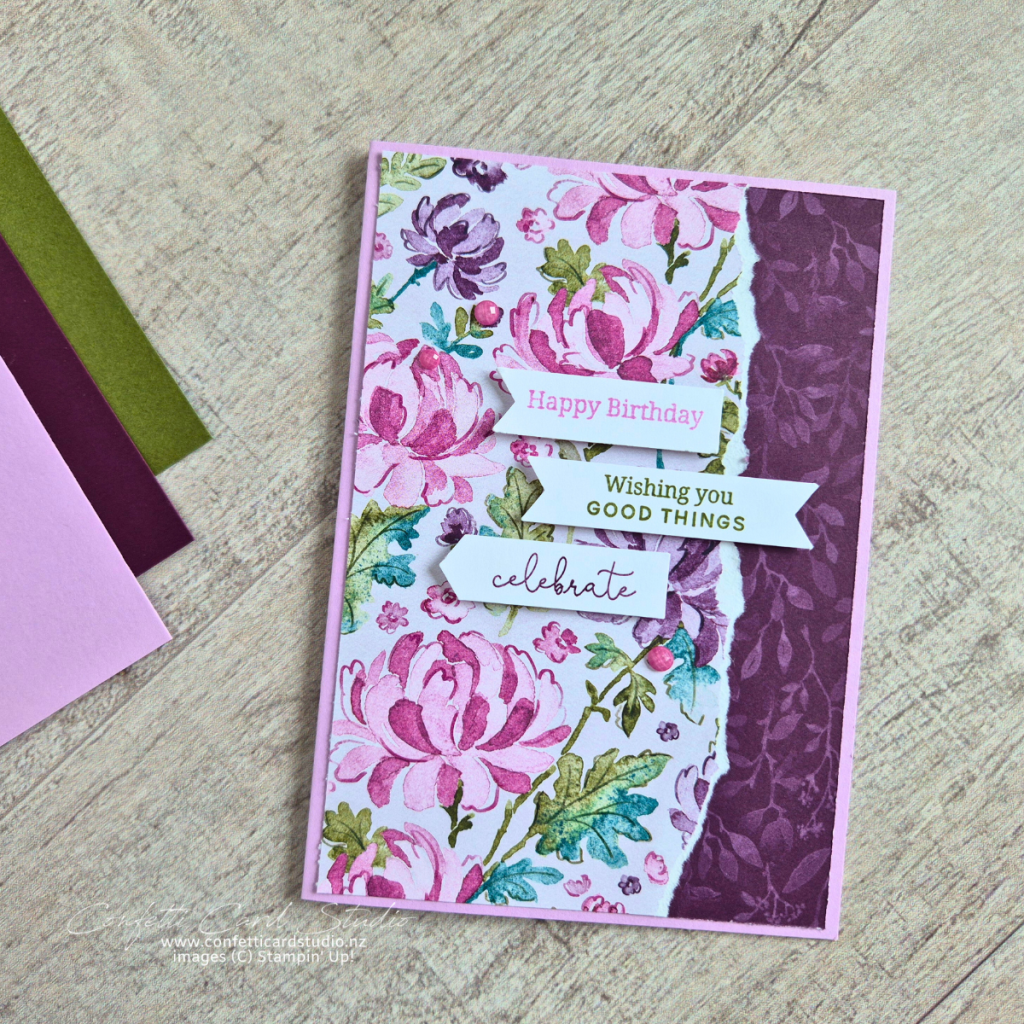
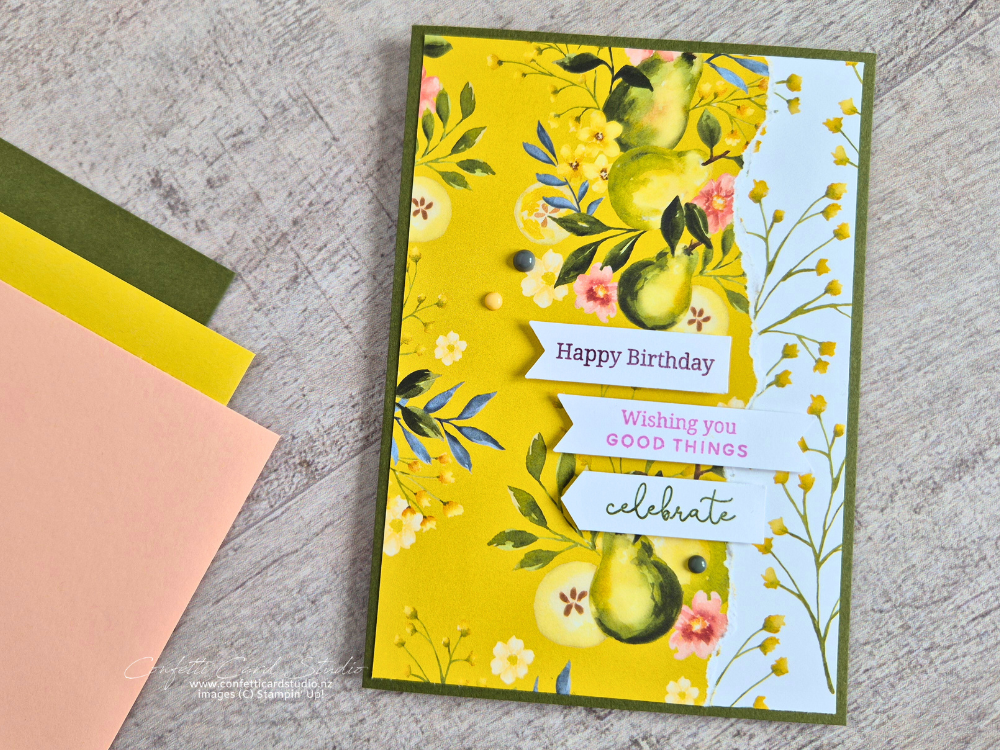
The Rip and Flip Designer Series Paper Technique
The rip and flip technique is one of my favourite ways to add texture and interest to a card without adding bulk or extra layers. It’s quick, creative, and a great way to show off both sides of your Designer Series Paper.
To use the rip and flip technique, start by tearing your Designer Series Paper by hand rather than cutting it. Don’t worry about making it neat—an organic, slightly uneven edge adds to the charm. Once torn, flip the ripped section over to reveal the reverse side of the paper, then adhere it onto your card front.
Because Stampin’ Up! Designer Series Paper is double-sided, this technique lets you highlight two coordinating patterns at once. It adds contrast, colour variation, and visual movement to your design while still keeping the layout simple. For this reason it’s great for making multiples.
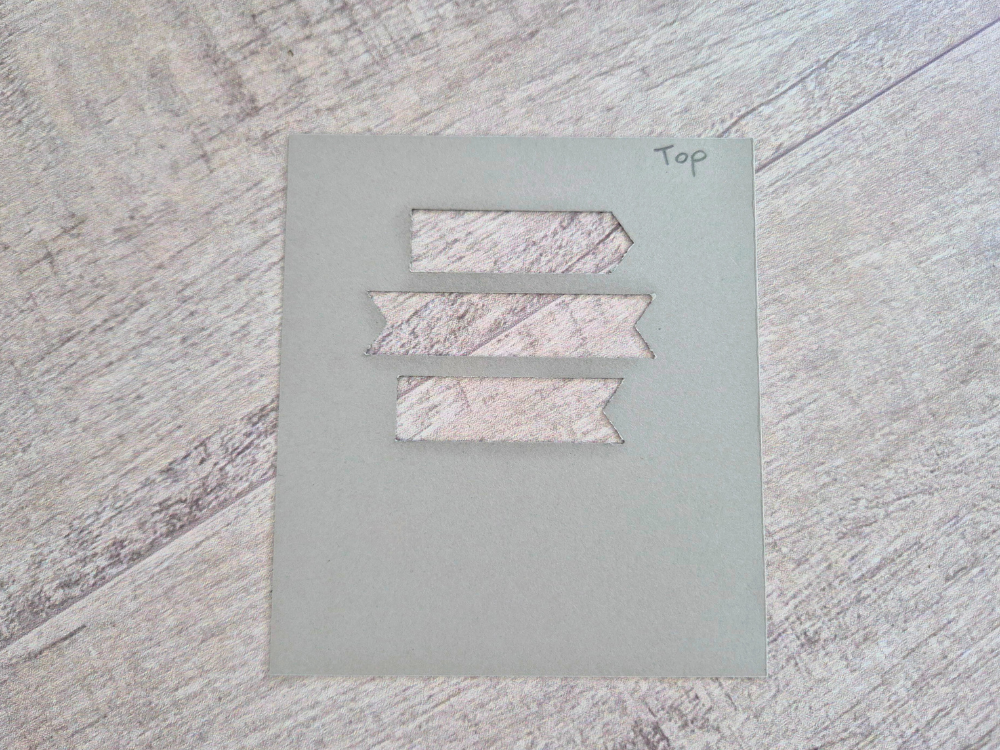
How to Create Your Three Banner Punch Template
Start by punching the three banner shapes from a piece of cardstock. This punched piece becomes your reusable template.
Choose sturdy cardstock so the template holds its shape and can be used again and again.
If you’d like to see this process in action, you can view my previous blog post, where I walk through how to create the Triple Banner Punch template step by step in a video. Watching it being made makes it even easier to understand how everything lines up and works together.
Step-by-Step: Stamp Once, Punch Perfectly
Place the Template
Lay your Three Banner Punch template over the cardstock you plan to stamp on.Position the Stamps
Place your sentiment stamps into the openings of the template. Take a moment to ensure they are straight and evenly spaced.Pick Up with a Clear Block
Press a clear block over the stamps to pick them up together, keeping their alignment intact.Ink and Stamp
Ink the stamps in your chosen colour, remove the template, and stamp onto your cardstock.Repeat in Different Colours
Clean the stamps and repeat the process in different ink colours to create multiple greetings in one go.Punch All at Once
Once stamped, slide the cardstock into the Three Banner Punch and punch all three sentiments together for perfectly matched banners.
Why This
Three Banner Punch Template Technique Saves So Much Time
Using a template means you’re not stamping and punching each sentiment individually. Instead, you can:
Create coordinating sentiments for several cards
Work efficiently when crafting in batches
Keep everything consistent across a project set
Combined with the Rip and Flip technique this template helps you create beautiful cards in less time. Don’t forget that the Banner Sayings Bundle combines both the stamps and punch into one easy order bundle and saves you 10%. I’d love for you to add this to your next order with me.
Vanessa x