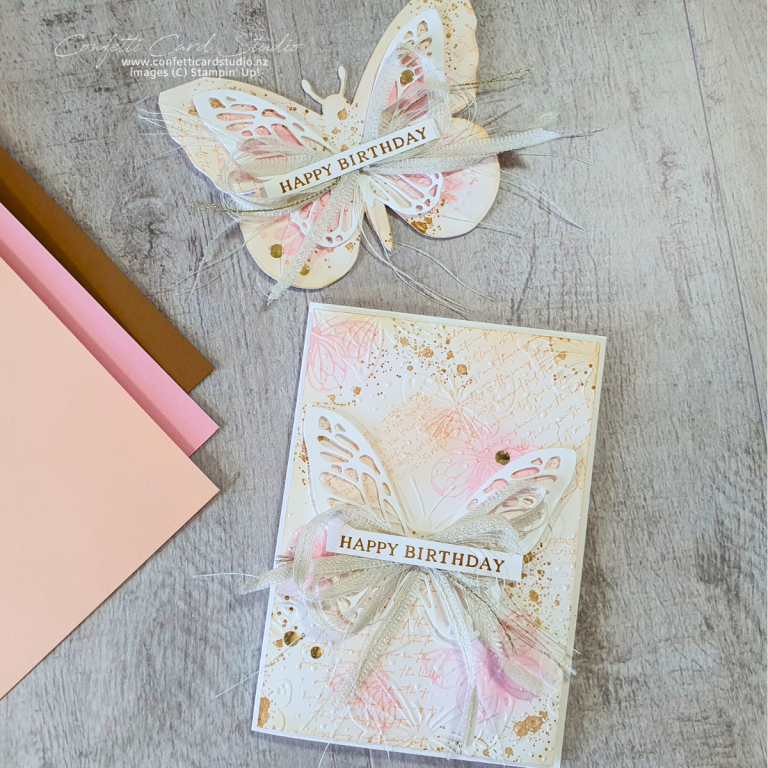
Create stunning floral cards using the Thankful Garden Decorative Masks, perfect for layering colour and adding soft dimension to your handmade projects.
I love how hydrangeas change colour as they age. Eventually, they fade into delicate, vintage tones that look timeless and beautiful.
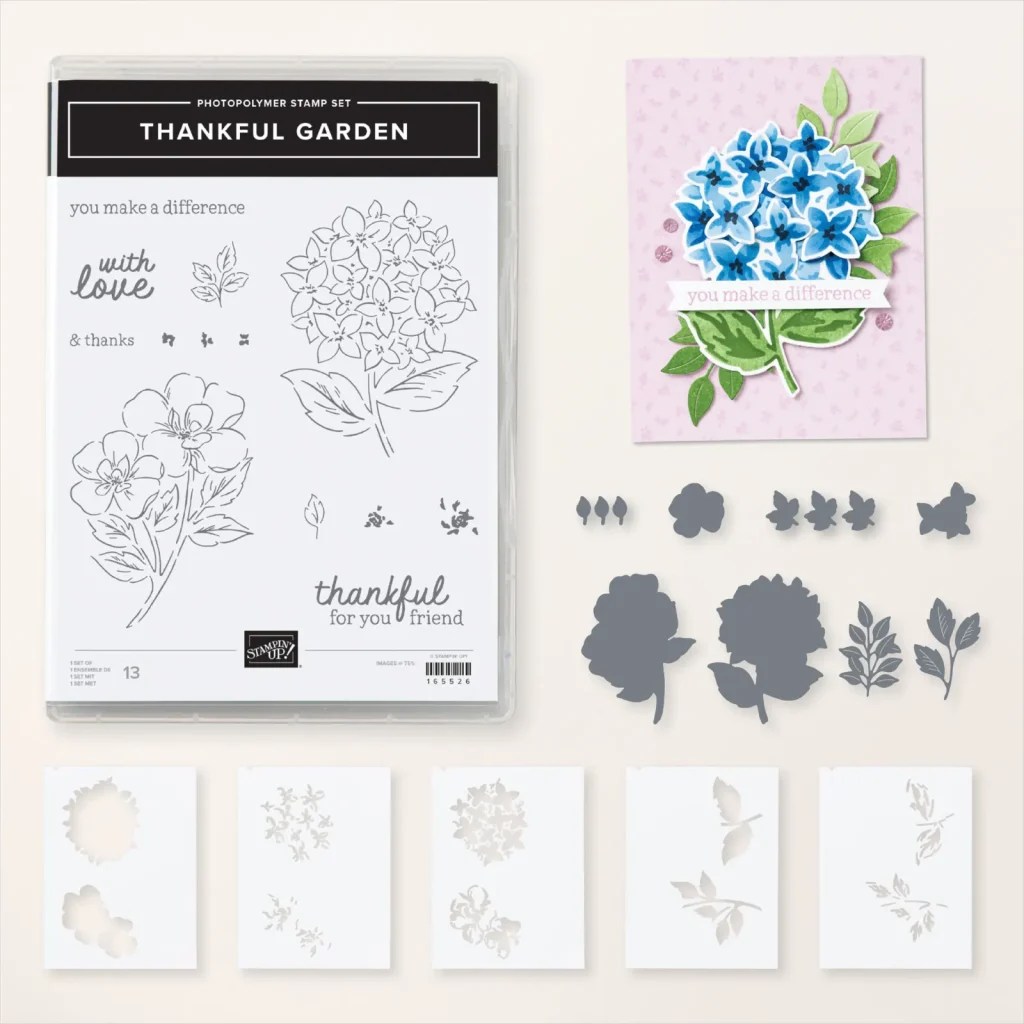
For this card, I drew colour inspiration from the Thoughtful Journey Designer Series Paper. The soft palette coordinates perfectly with the hydrangea image.

Thankful Garden Bundle: A Must-Have Creative Set
First, let’s talk about the Thankful Garden Bundle, an online exclusive from Stampin’ Up! It’s ideal for floral cardmakers and colouring enthusiasts alike.
Not only does it include detailed stamps and dies, but it also features Thankful Garden Decorative Masks for effortless layered colouring.
Moreover, the line-art style of the florals works beautifully with a range of colouring techniques—such as ink blending, markers, or even watercolour.
You can also mix and match the images with nearly any sentiment, making this bundle both practical and versatile.
Best of all, the stamps, dies, and masks coordinate perfectly—helping you achieve multi-dimensional results without added bulk.
Blending Tips Using Thankful Garden Decorative Masks
Now that your supplies are ready, let’s look at how to use the masks for smooth, seamless colour blending.
Here are a few helpful steps:
First, tape your stamped image to grid paper.
Next, line up the leaves to draw the triangle mask guide on the grid paper
Then, tape the Thankful Garden Decorative Mask in place using the triangle for precision.
Before blending tap off initial ink to avoid a dark circle.
Blend in gentle circular motions.
For better control hold the brush near the head.
Start with light pressure, and gradually build up the colour as needed.
Peek under the mask often to ensure even coverage.
When switching masks, realign using the same triangle guide.
Use one colour for some or all masks—vary ink and pressure for tonal layering.

Design Details for Added Impact
Now let’s bring it all together with thoughtful design elements. Begin by cutting your designer series paper on a diagonal. This creates a strong visual line and reveals the white layer beneath.
Then, use the colours in the patterned paper to guide your hydrangea shades. This keeps your palette soft and cohesive.
Place the flowers along the diagonal edge, allowing them to overlap slightly. This visually connects both halves of the design. To add extra interest, trim a leaf from one of the flowers and tuck it between the blooms.
Finally, raise the flower elements on dimensionals. This simple step adds shadow and subtle depth to your finished card.
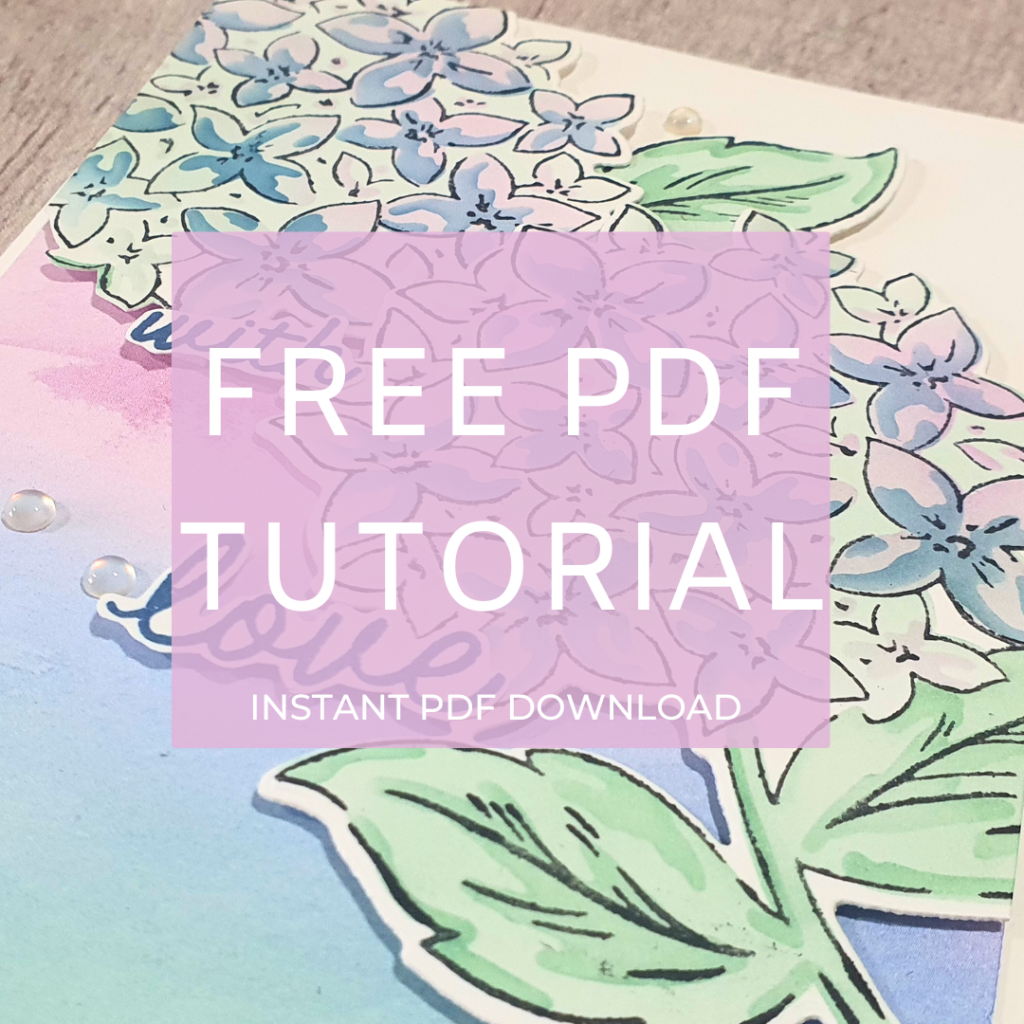
FREE TUTORIAL
Each week after my Facebook Live the free tutorial is emailed to interested subscribers on my email list. If that’s you please subscribe and receive these free ideas directly to your inbox each week.
Click here for a complete supply list for printing, shopping, or saving.
Looking for more ideas using Thankful Garden Decorative Masks? Check out the links below for similar card tutorials and ideas!
Step By Step Ombre Ink Blending